As my laptop is 32-bit system, so I have downloaded the following files from the above link. Likewise, you can download the files for 64-bit system(x64) too. :) Finally, check your system requirements from the same link.
ENU\x86\SQLFULL_x86_ENU_Core.box
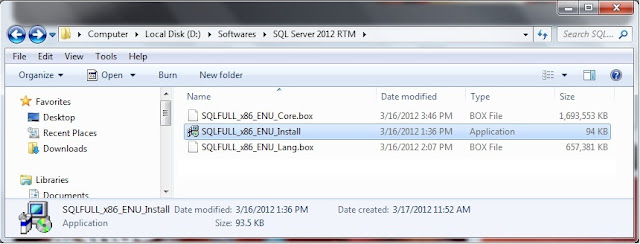
ENU\x86\SQLFULL_x86_ENU_Install.exe
ENU\x86\SQLFULL_x86_ENU_Lang.box
After downloading the above files, your system will look like below:
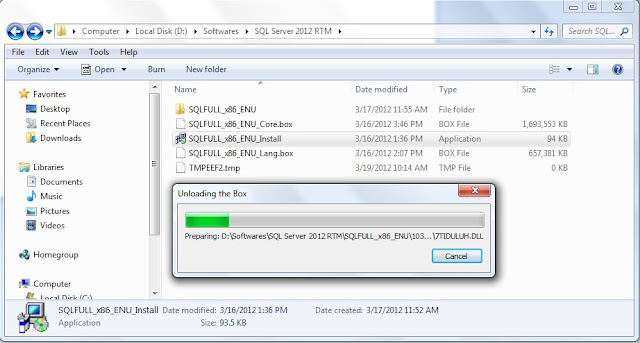
Double click the “SQLFULL_x86_ENU_Install.exe”, it will extract the required files for installation in the “SQLFULL_x86_ENU” folder as shown below:
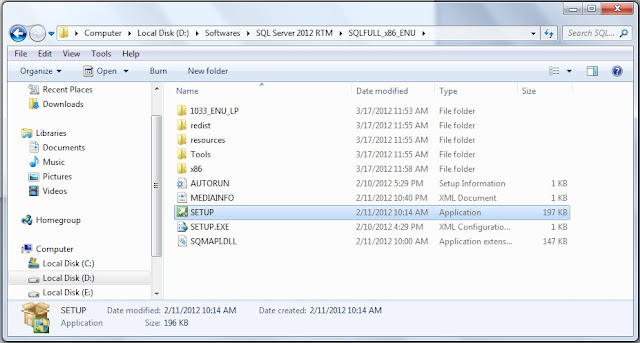
Click the “SQLFULL_x86_ENU” folder and double click “SETUP” application.
Checking your system requirements for installation.
When you see “SQL Server Installation Center” screen, it means that your system configuration is perfect for “Denali” installation. :)
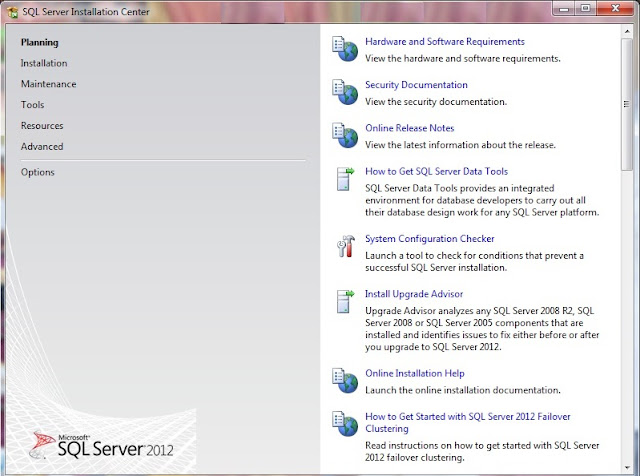
Click installation from the left pane and select “New SQL Server stand-alone installation or add features to an existing installation”.

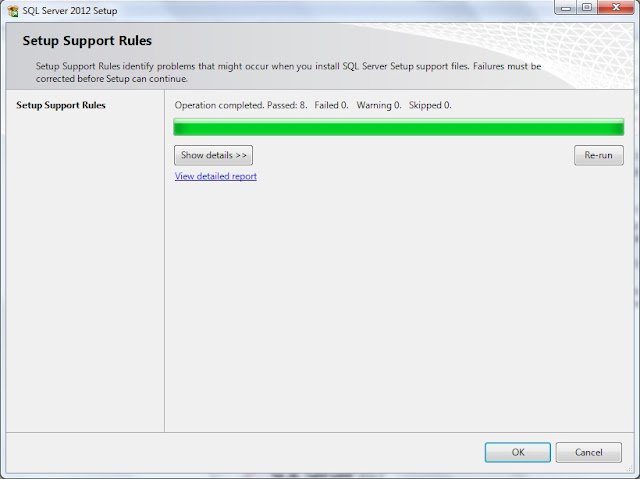
In the “Setup Support Rules” Click "OK" button when you have failed 0. Otherwise fix the issue and click "Re-run" button.
Here, I left default edition “Evaluation”, but you can also choose “Express” edition from the drop down list. (Leave the product key as of now, later you can convert to licensed version at any time, refer the above link.
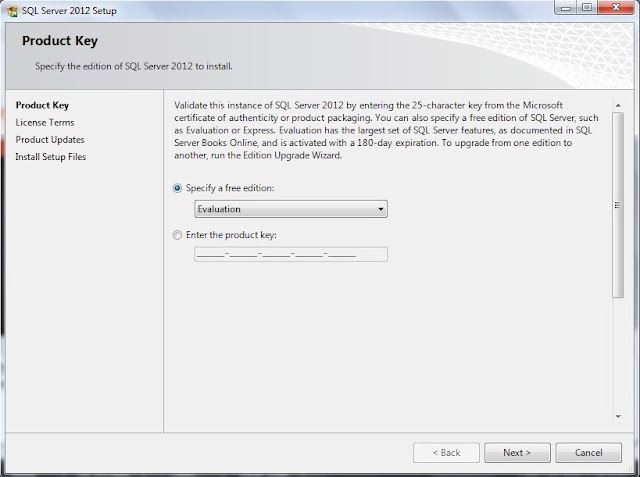
Press “Next” button.
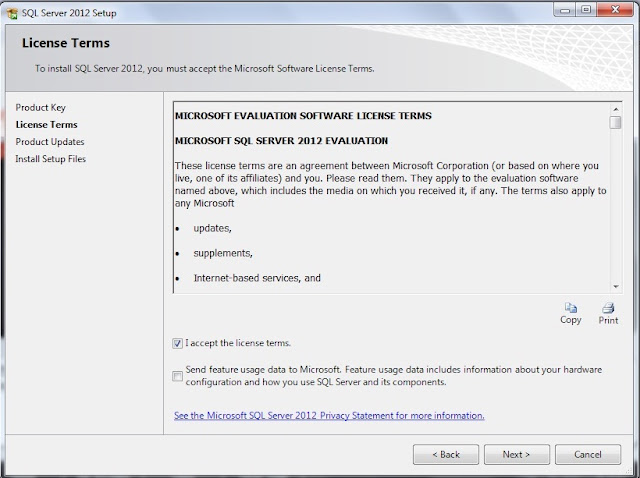
Select the “I accept the license terms” and click “Next” button.
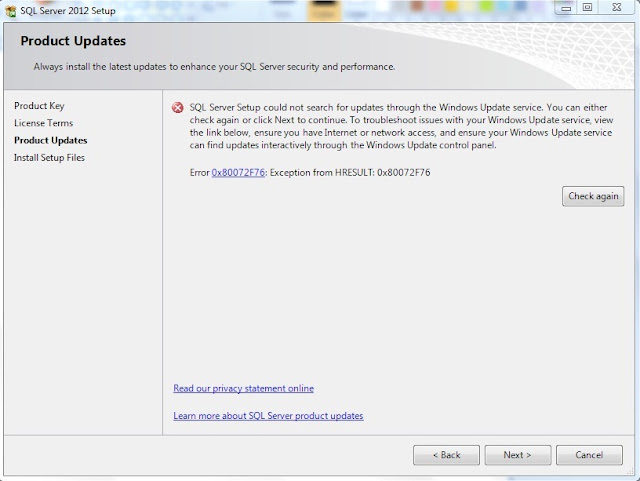
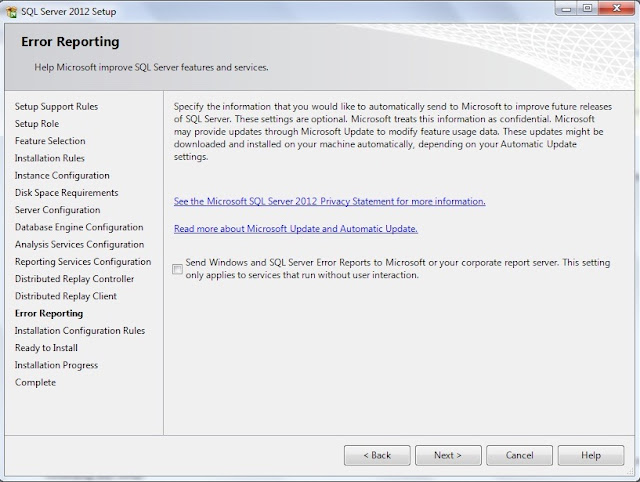
I have installed in “Offline” mode, So I got the above error message otherwise, it does windows update automatically and will continue the process. :)
Press “Next” button.
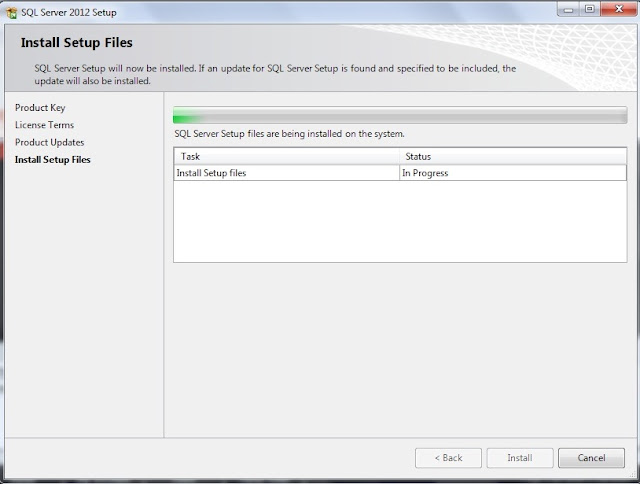
Press “Next” button, if all status are passed. Otherwise fix the issue and press “Next” button.

I left the default feature “SQL Server Feature Installation”, if you do not want to change the option then press “Next” button.
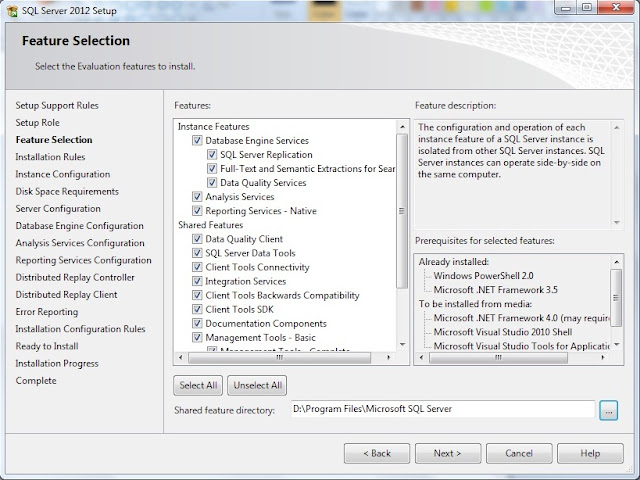
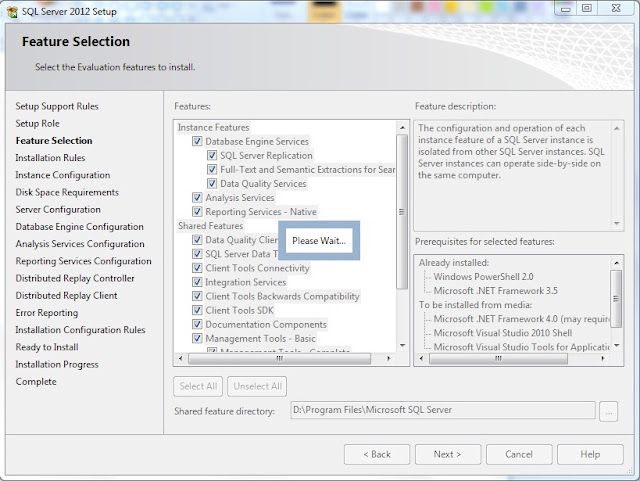
Select the features and change the “Shared feature directory” if you want, otherwise press “Next” button.
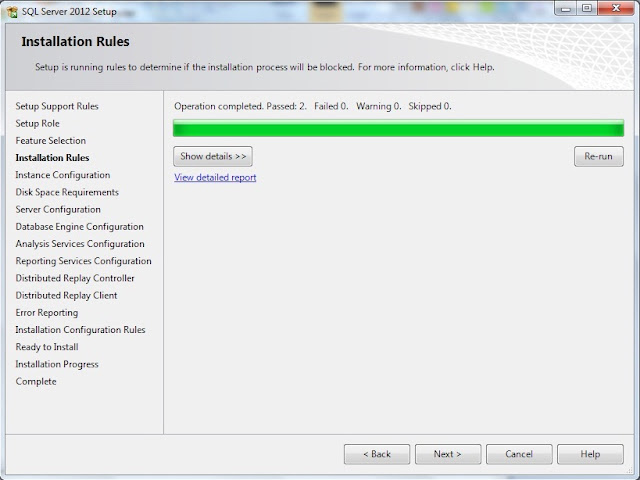
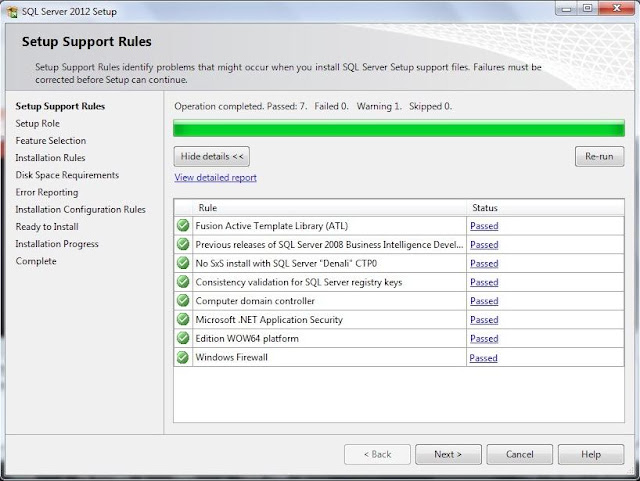
Press “Next” button if failed count is 0.

As I have already 2 instances, so I have selected “Named Instance” and given the instance (server) name. You can change “Instance root directory” if you want. Otherwise, press “Next” button.
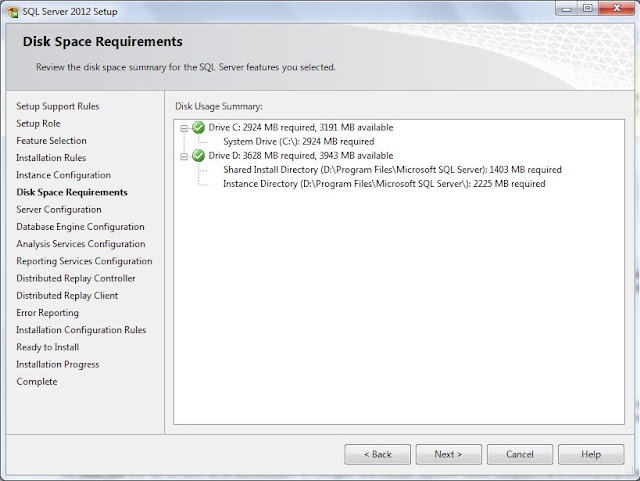
It will not allow, if you do not have sufficient space in the disc. Press “Next” button.
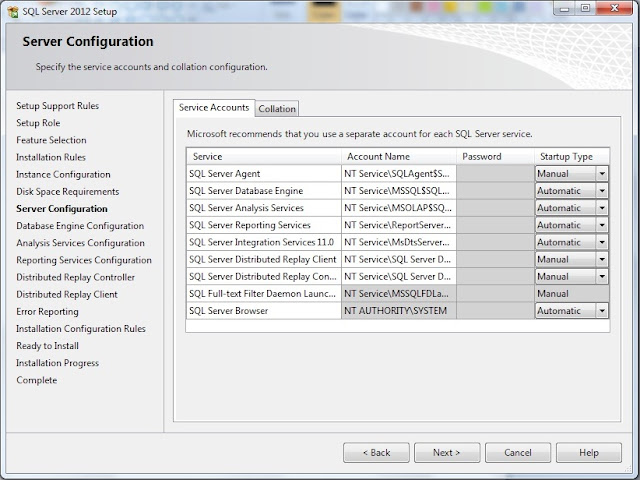
You can change the “Startup Type” for SQL services in the tab. Which also can be done in the Control Panel “Services” after installation.
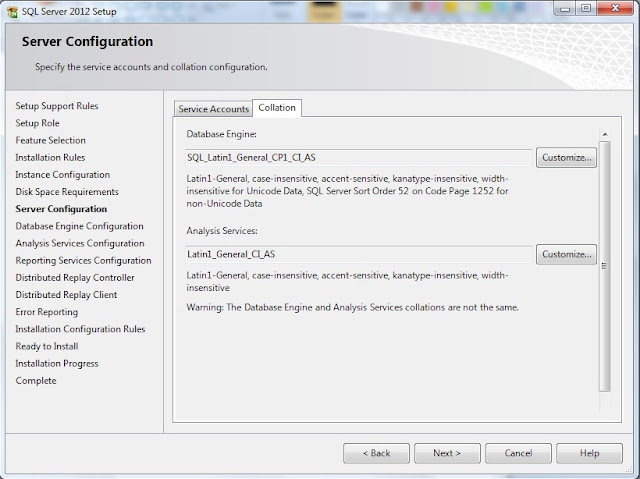
Change the “Collation” if you want, otherwise Press “Next” button.
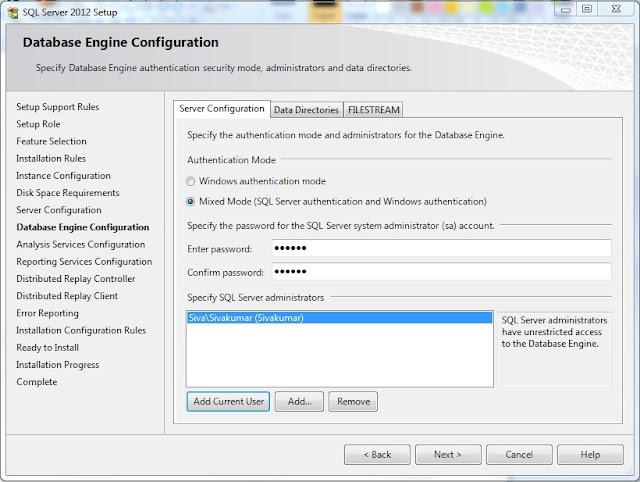
Choose the authentication mode and specify the “Administrator” user. Here, I have selected “Add Current User”. Also, you can change the “Data Directories” and enable “FILESTREAM” if you want , otherwise Press “Next” button.
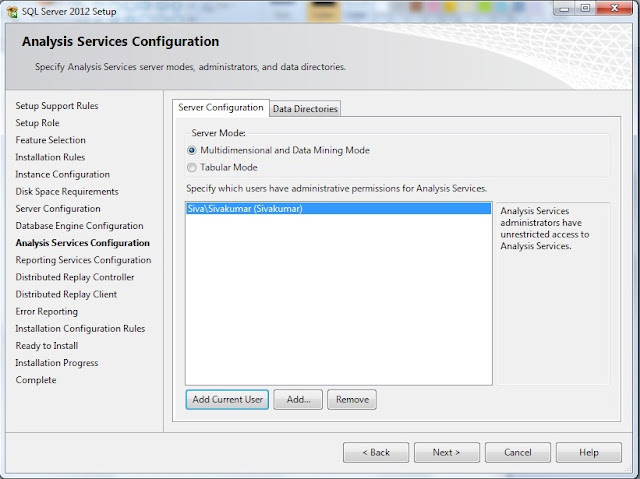
You can change the Analysis Services “Server Mode” and “Administrator” user. Here, I have selected “Add Current User”. Also change the “Data Directories” if you want , otherwise Press “Next” button.
Note : You can select only one server mode to use: “Multidimensional and Data Mining Mode” or “Tabular Mode”. If you want both, you need to run the setup again after the first instance setup. Refer Books online.
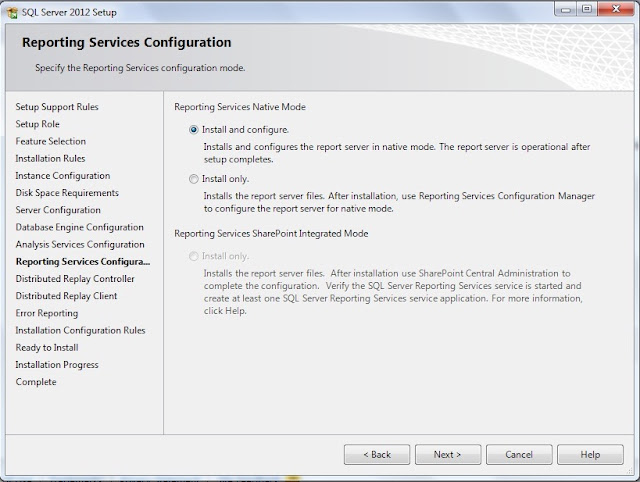
Here, you need to choose “Reporting Services Native Mode” and press “Next” button.
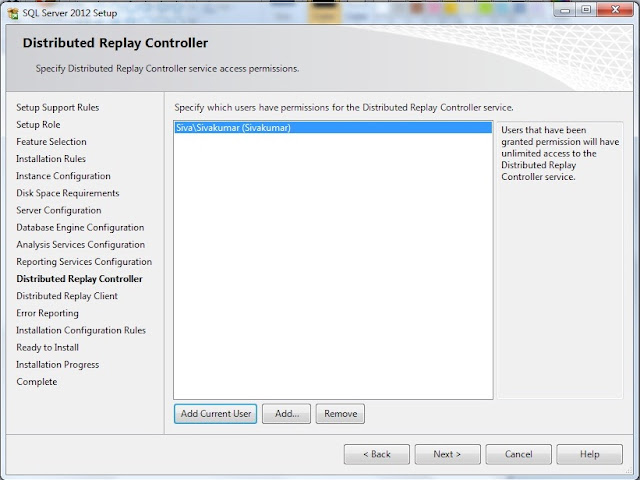
“Distributed Replay Controller” service feature is new in SQL Server 2012, here specify the user who should have permission to use this service. Press “Next” button.
Note : Distributed Replay feature helps you assess the impact of future SQL Server upgrades.
Refer http://msdn.microsoft.com/en-us/library/ff878183(v=sql.110).aspx
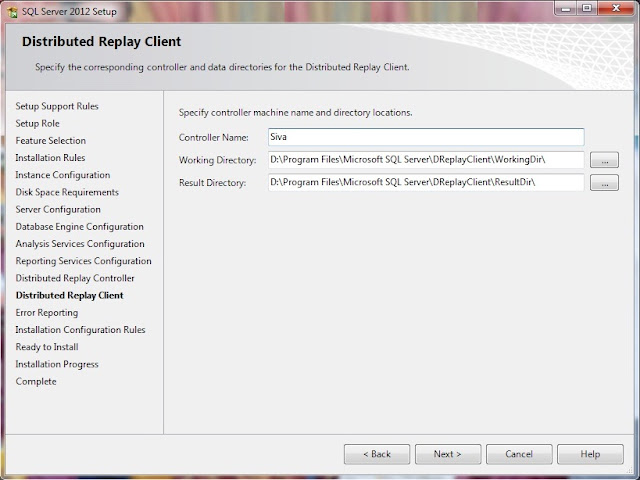
Specify the Controller Machine name which should have “Distributed Replay Controller” service. Also you can change the working directory and Press “Next” button.
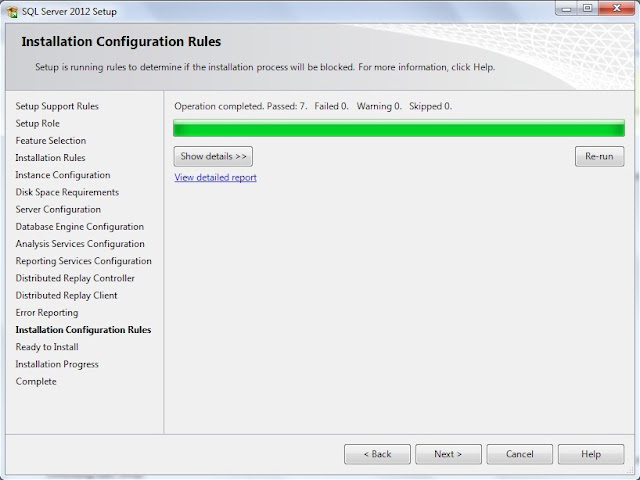
Press “Next” button, if failed count is 0.
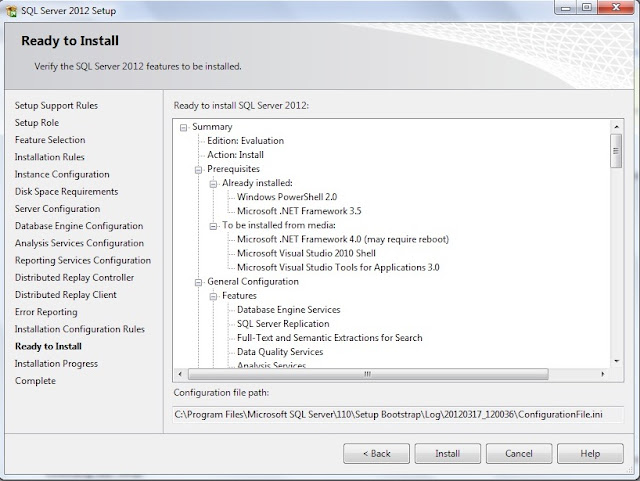
Here, you can find the list of "SQL Server 2012" features which will be installed. If you would have missed to enable any features, click “Back” button and enable. Otherwise press “Install” button to proceed.
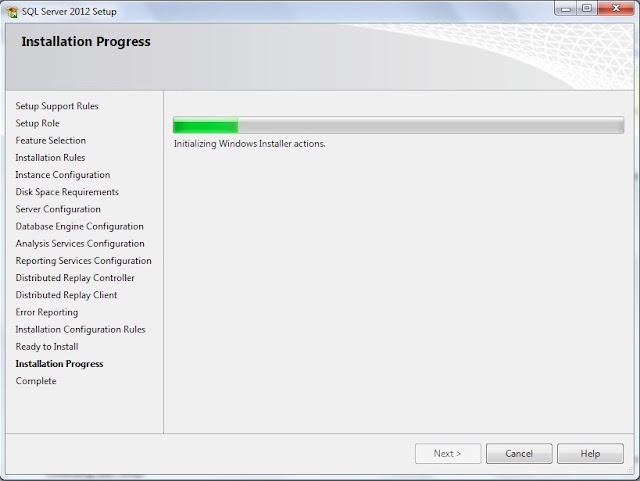
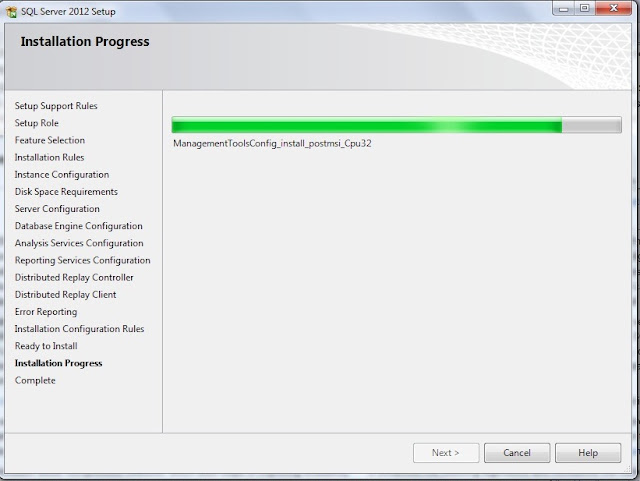
You can see installation progress. Press “Cancel” button, if you want to stop the installation.
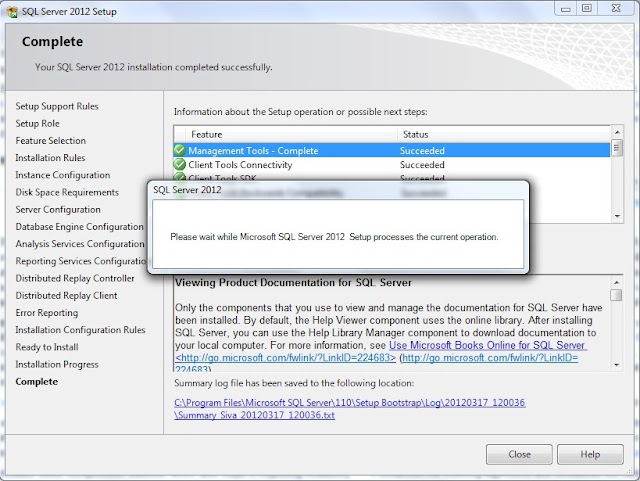
After the successful installation, your screen should look like below :

Wow, you have successfully installed SQL Server 2012 and to confirm the successful of installation from the screen, you can find the “Succeeded” for all the features and refer summary log file for further info.
Press “Close” button.
Now, you can play with SQL Server 2012 features.
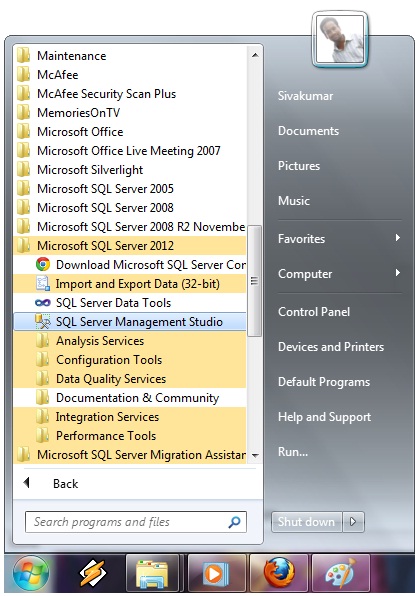
Go to “SQL Server 2012” menu and click “SSMS”.
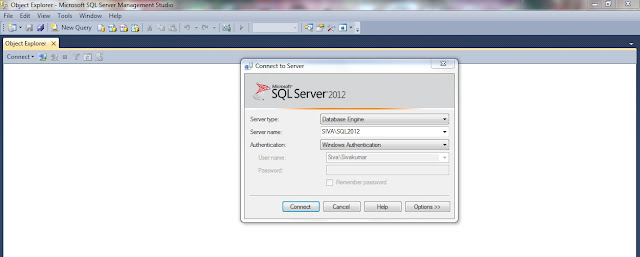
Select appropriate SQL Server 2012 instance and authentication mode and click “Connect” button.
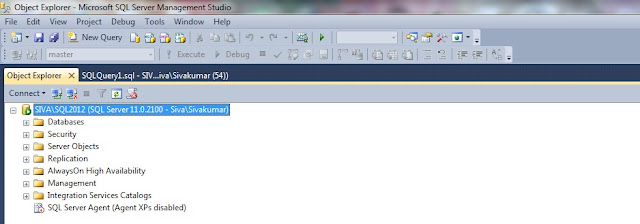
Now, you are in SQL Server 2012 management studio. :)
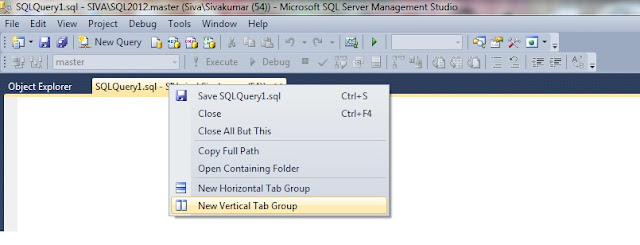
Now, you can right click and change the “New Vertical Tab Group”.
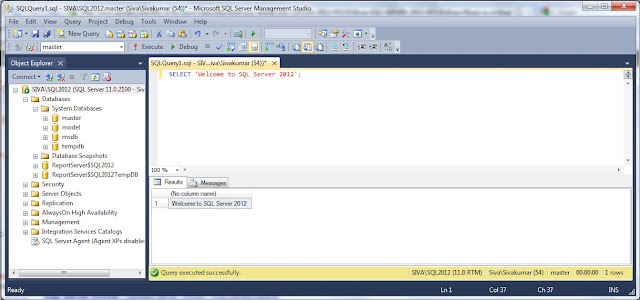
Write your favorite query and execute. All the very best for your learning :)
I hope, this article would have guided you to install SQL Server 2012 ("Denali").


